Monthly Archives: March 2014

Seaweave 1 and 2

Used the photographs and ipad drawings from the last post to create 3 plates. I worked on two small fine aluminium plates which had been de-greased using a household cream cleaner (can I say CIF type stuff?) using a combination of drypoint, carborundum grit mixed with PVA and wire wool rubbed over parts of the background. This gives both delicate lines and heavier textured areas. The plates are and inked up using scrim, you have to be gentle when wiping so as not to scratch the surface or dislodge the grit. When you set the press pressure use a piece of mount-board under the plate, larger than the paper you are printing so as not to create unwanted impressions.

The third plate is a collagraph on mount-board; the lines are carved with a scalpel and carborundum grit mixed with PVA creates textures. The whole plate is sealed with shellac.

These are the plates inked up and the prints

SWCollagraphplate

Seaweave 1

SW2Aluminium plates

Seaweave2

How delicious to have something new to work on….I may weave into to these with some beach-combed finds.

Seaweaving

Went up to Whitby last week. The weather was lovely, sunny days, cold nights and wild wind creating very big waves. Some of the railings near the beach huts got bent, with all sorts of debris trapped around them. I thought they looked like abstract tapestries where the sea had tossed multi coloured and textured items tightly around them.
I took some photographs and made some ipad drawings as starting points for a print which is forming in my mind and sketchbook!Seaweaving2

Drypoint on Perspex

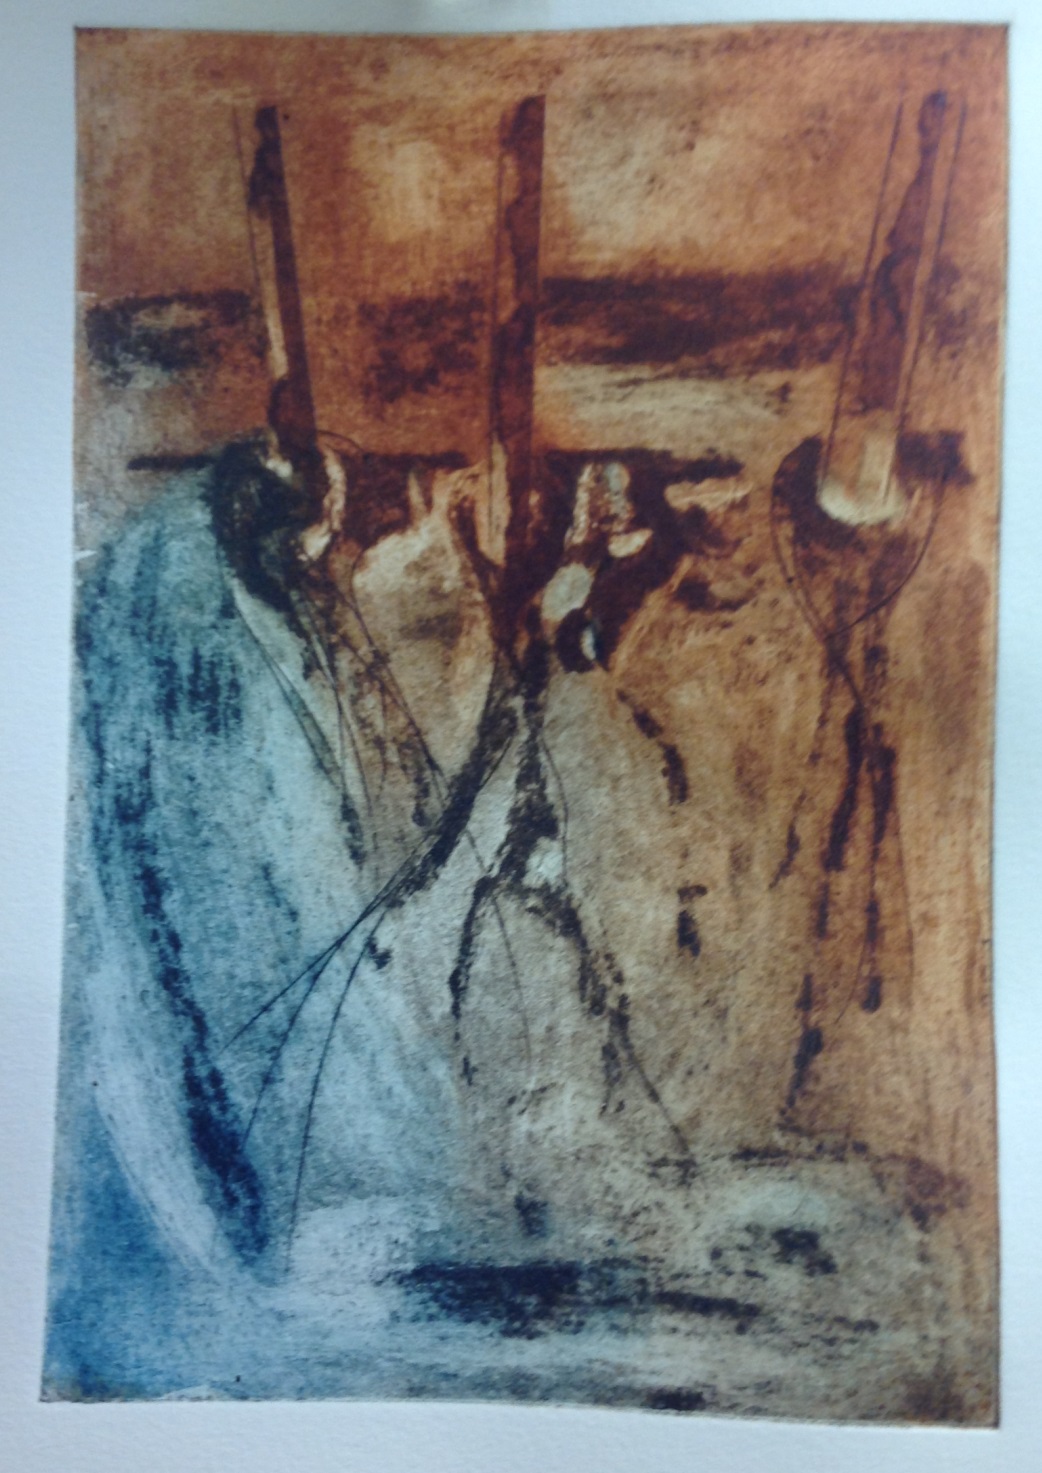
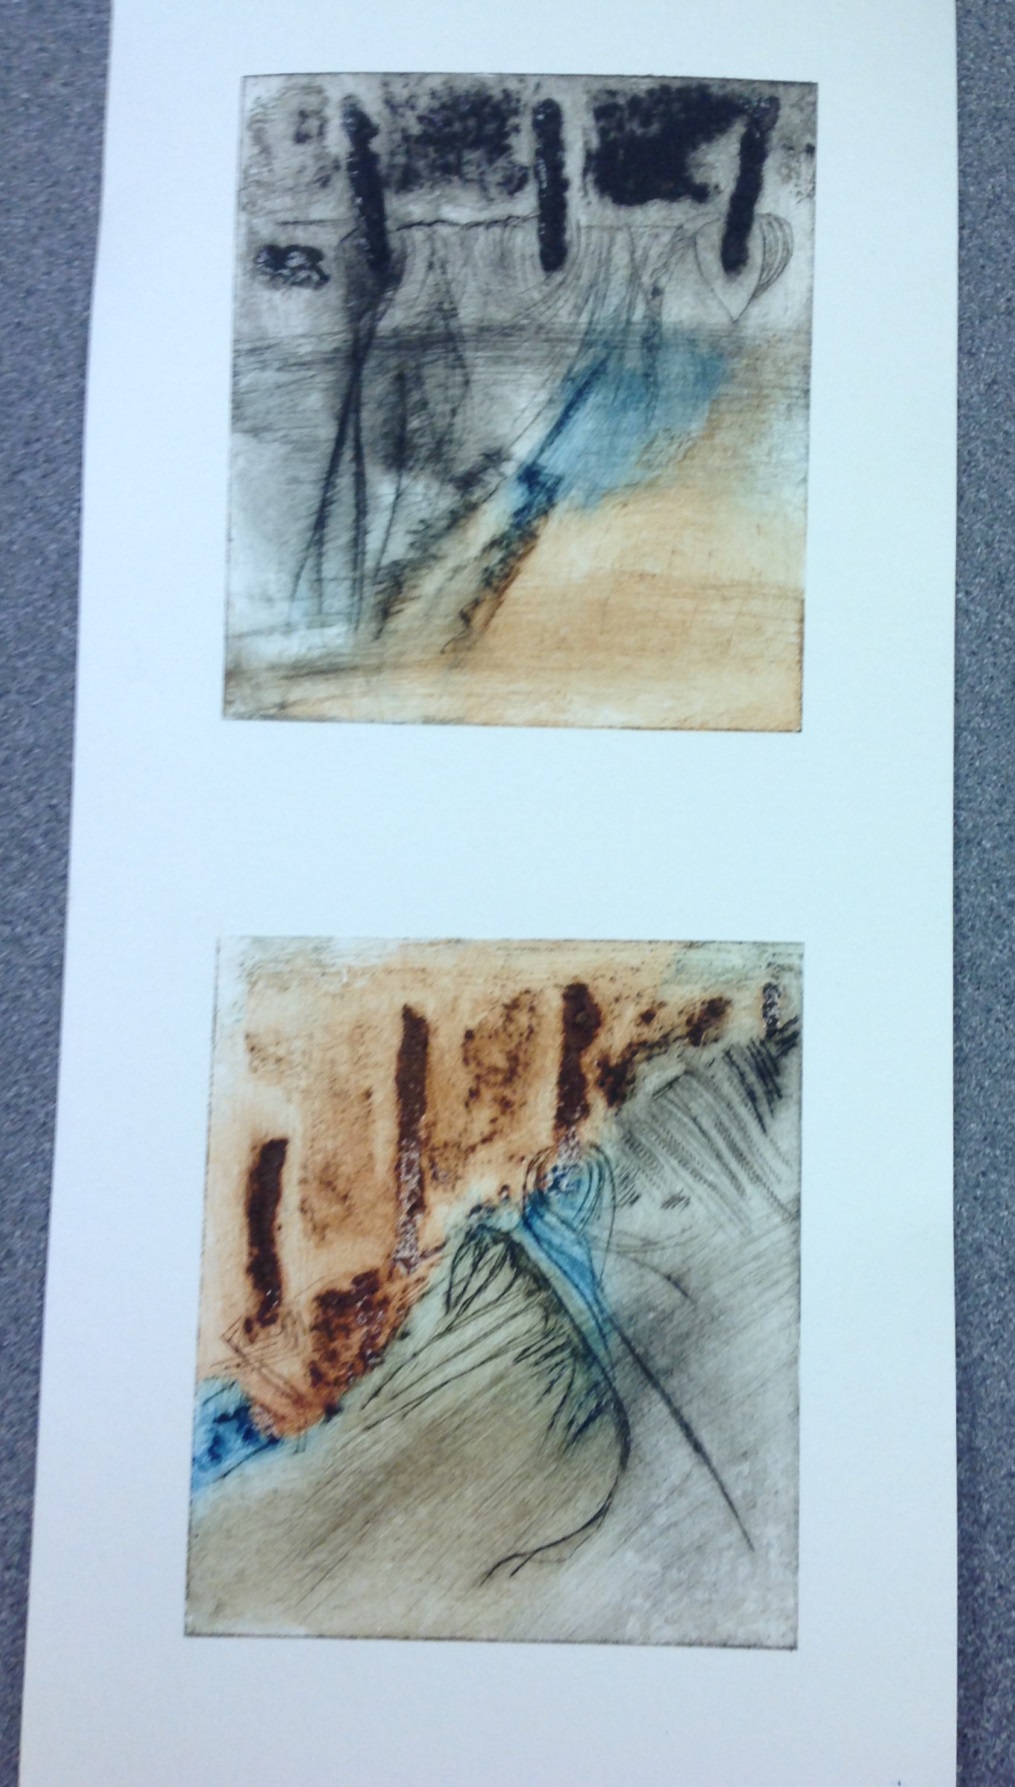
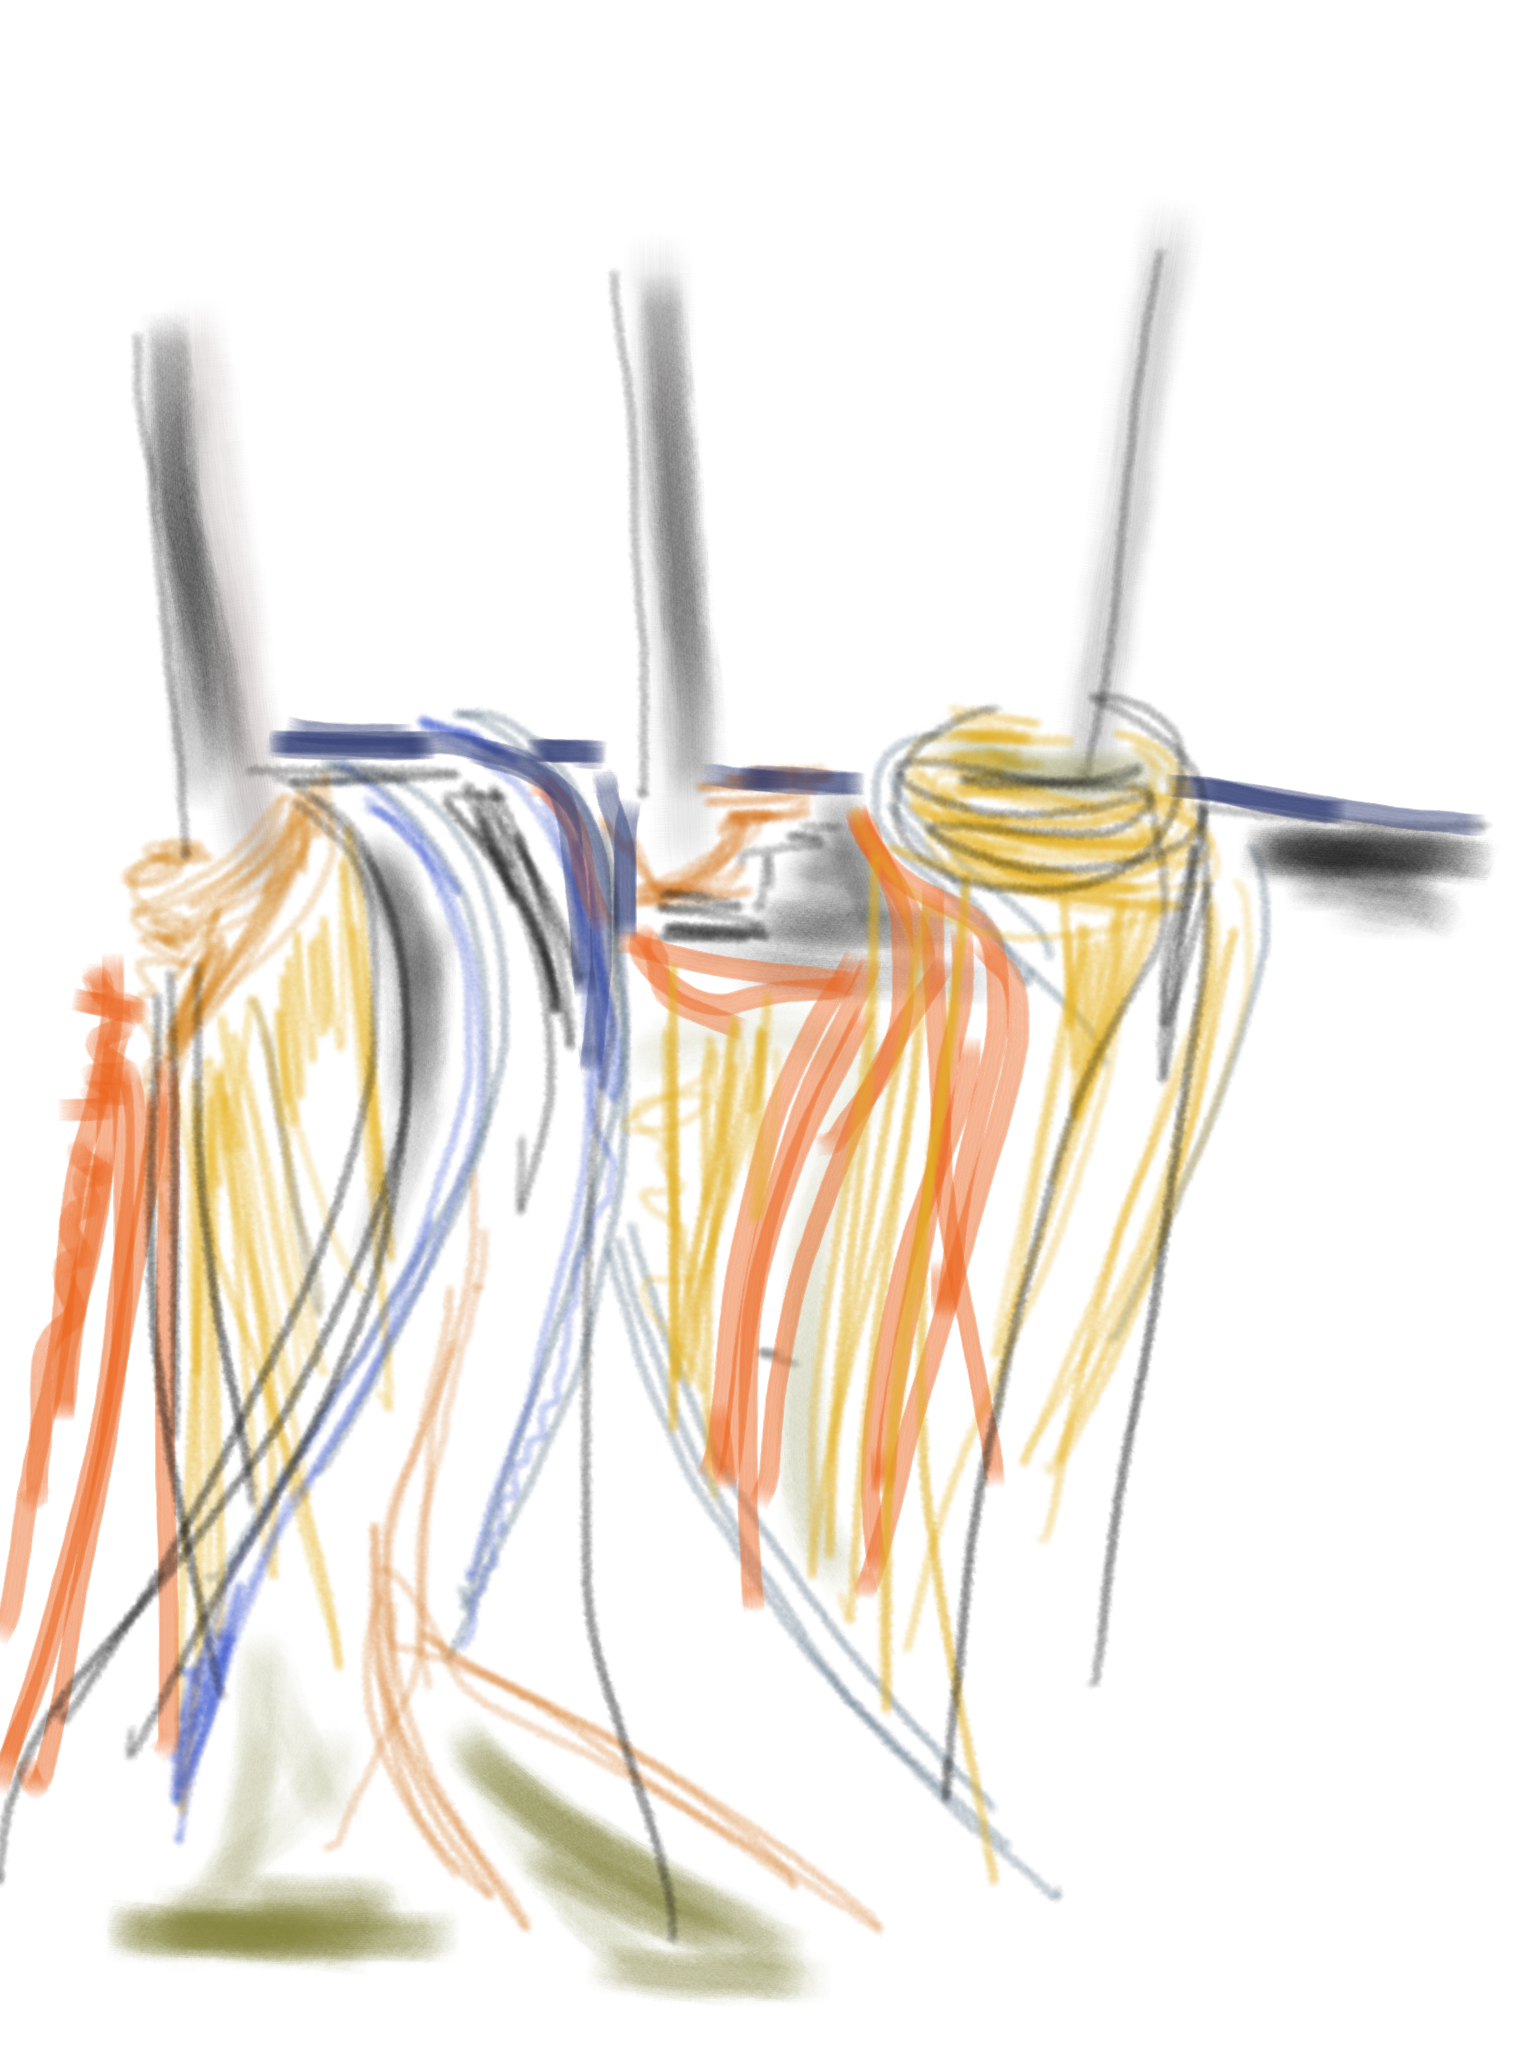
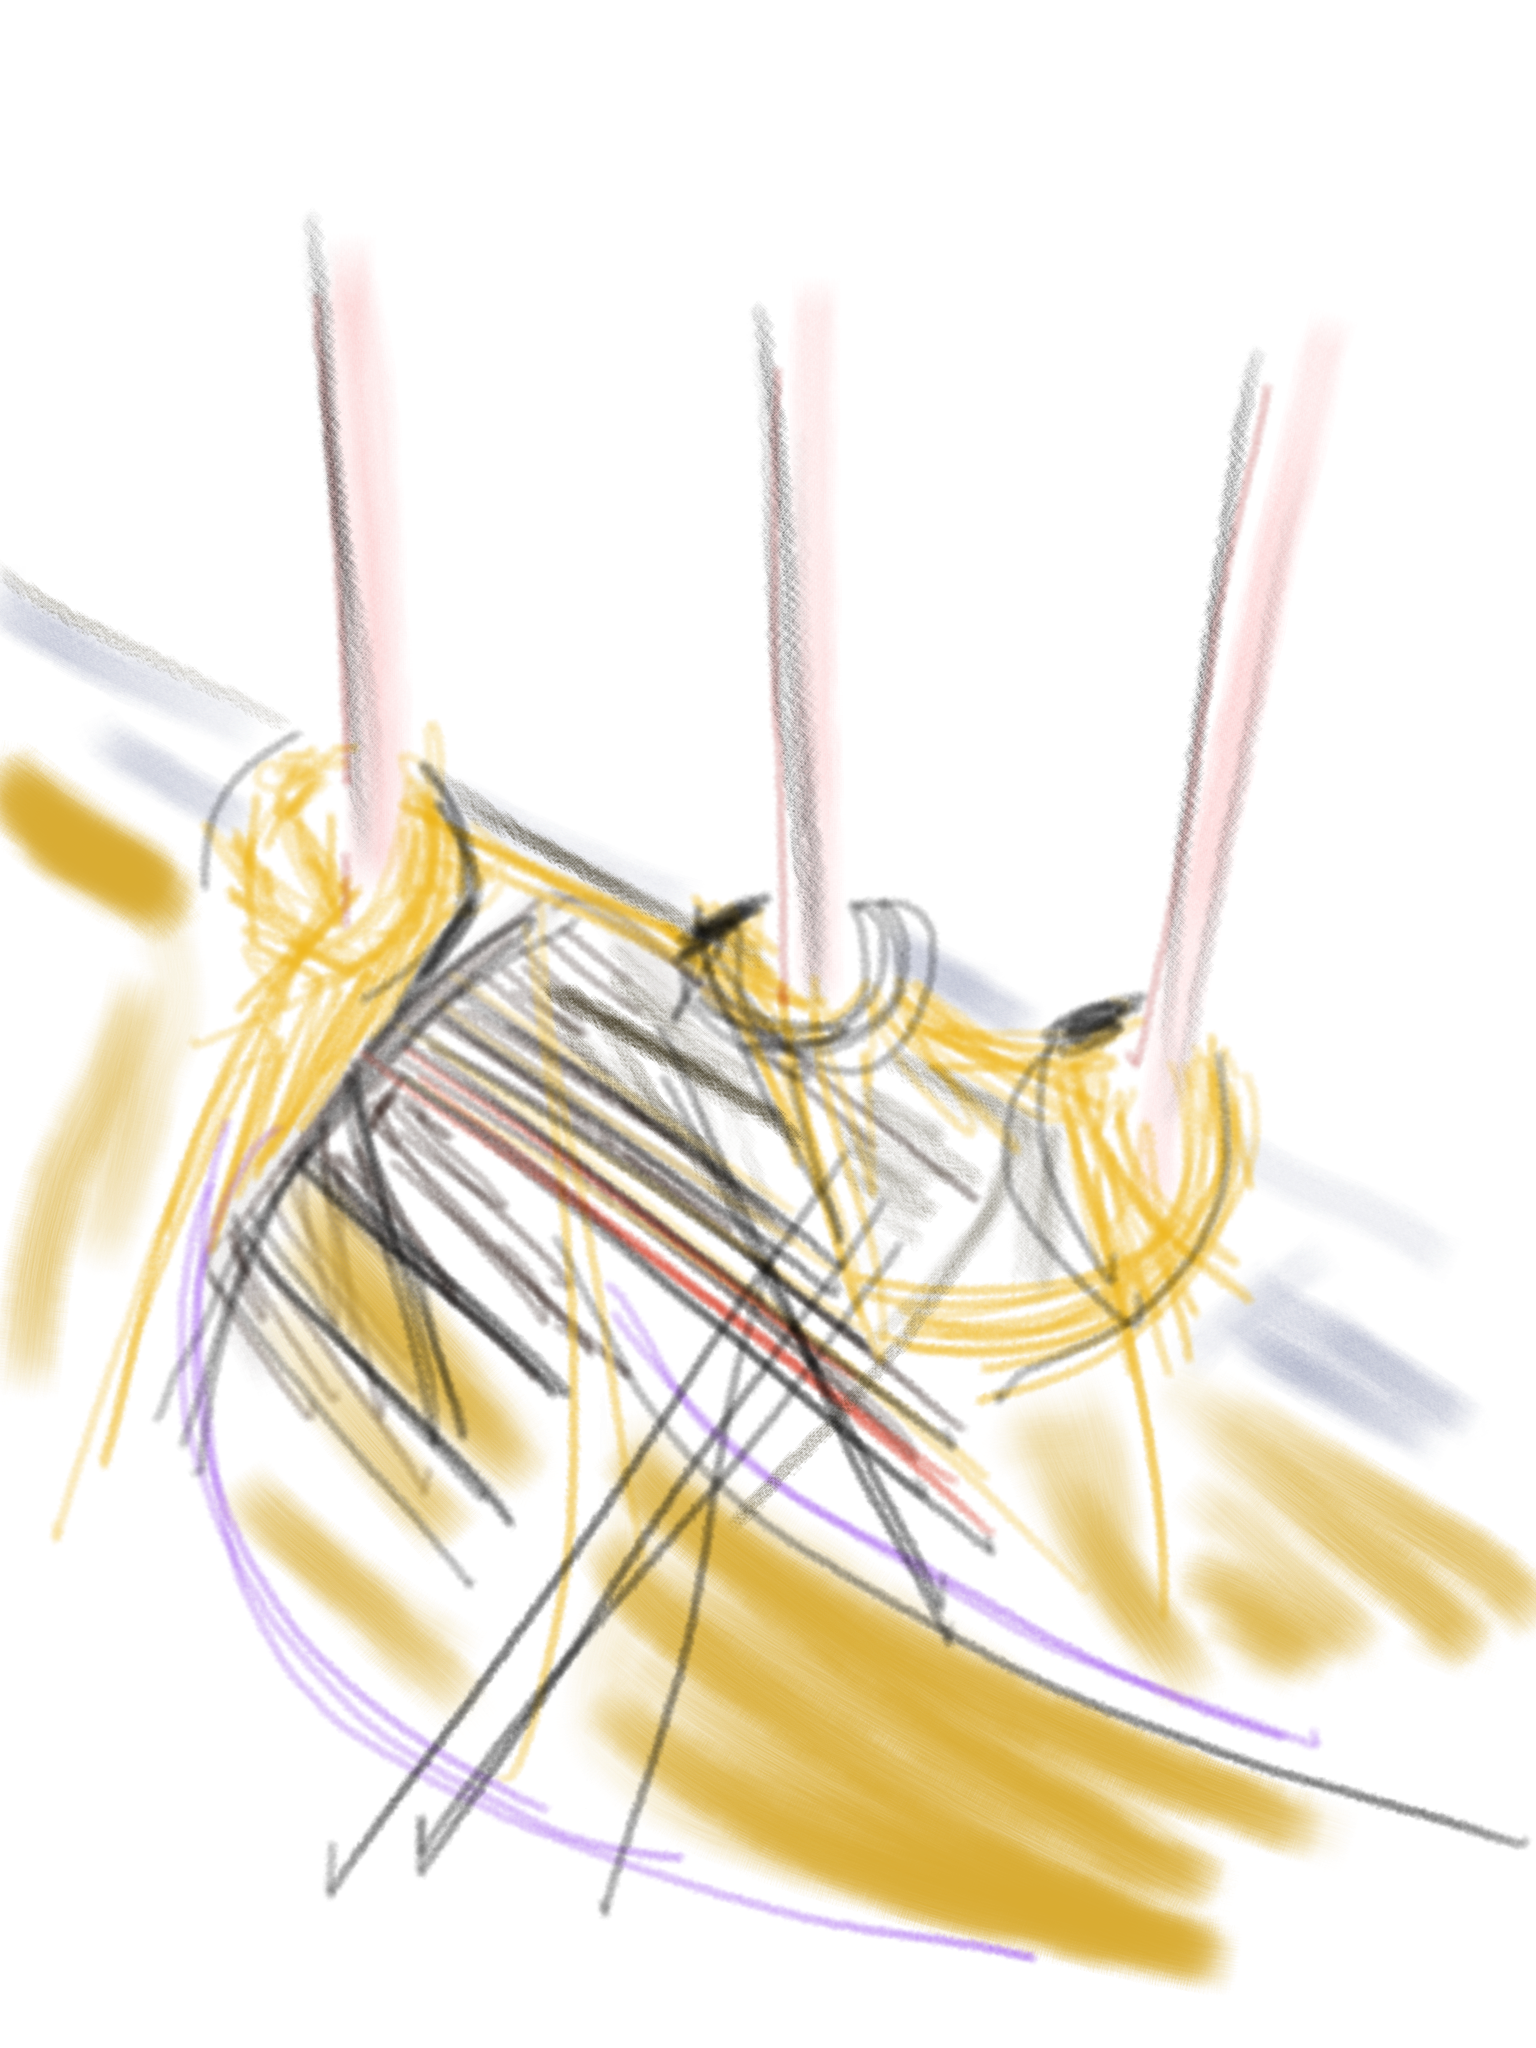
The images of ‘Winter’ in the last post February 2014 are drypoint prints on Perspex plates using drypoint etching tools and a soldering iron. The technique affords an opportunity to create different density and depth in the line and some accidental marks which come when the soldering iron is lifted off the Perspex. It is a quick and simple method to make a plate. The plates themselves are fairly robust and can withstand an edition of at least 12. The Perspex does vary in thickness and surface, the best one to use is the ‘non reflective’ type because its surface is quite dull and once inked up holds a certain residue of ink giving an effective plate bloom. It also responds well to scratched lines and textures you can make using wire wool and or sandpaper. If you get the shiny one, which is the most common in DIY stores, you must be careful not to over-wipe the plate because the results are too stark. A tip here is to work some wire wool gently over the surface before you start etching, being careful not to make too obvious a mark.

Method:
Cut your Perspex to size and gently file the edge at 45 degrees, I like to round the corners slightly. De-grease the plate using a household cream cleaner, pat dry with kitchen paper. As the Perspex is transparent you can work on top of a drawing, painting or photograph if you wish. I prefer to have images for reference and work directly on the plate. Use any drypoint tool, nails, wire wool, sandpaper to make the finer lines and textures and the soldering iron for the bolder marks. Take care to work in a well ventilated space and don’t take too long using the soldering iron, once you can smell the fumes give it a rest! The marks are made easily, don’t press down too hard, you can get some expressive textures by dotting the iron into the plate, take care not to linger or you will go through. You will find some of these deeper marks don’t always fully ink up and they give some lively embossed marks. Ink up and wipe off in the normal way using scrim, the press pressure will depend on the press itself of course but I have found it to be similar to setting up for a collagraph on mountboard. Perspex plates respond well to local inking with a roller. Use a piece of glass, roll out a thin layer of ink, covering you roller and swiftly roll over the plate in a selected area.
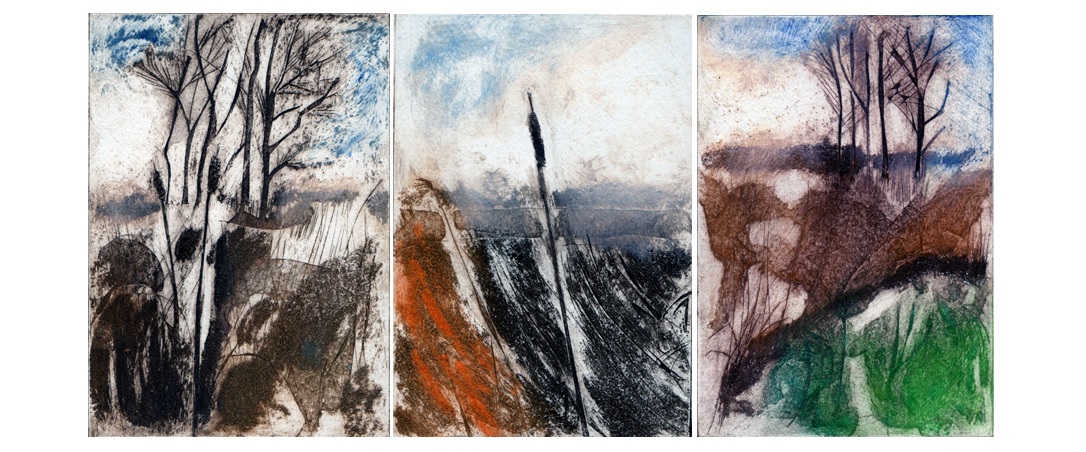
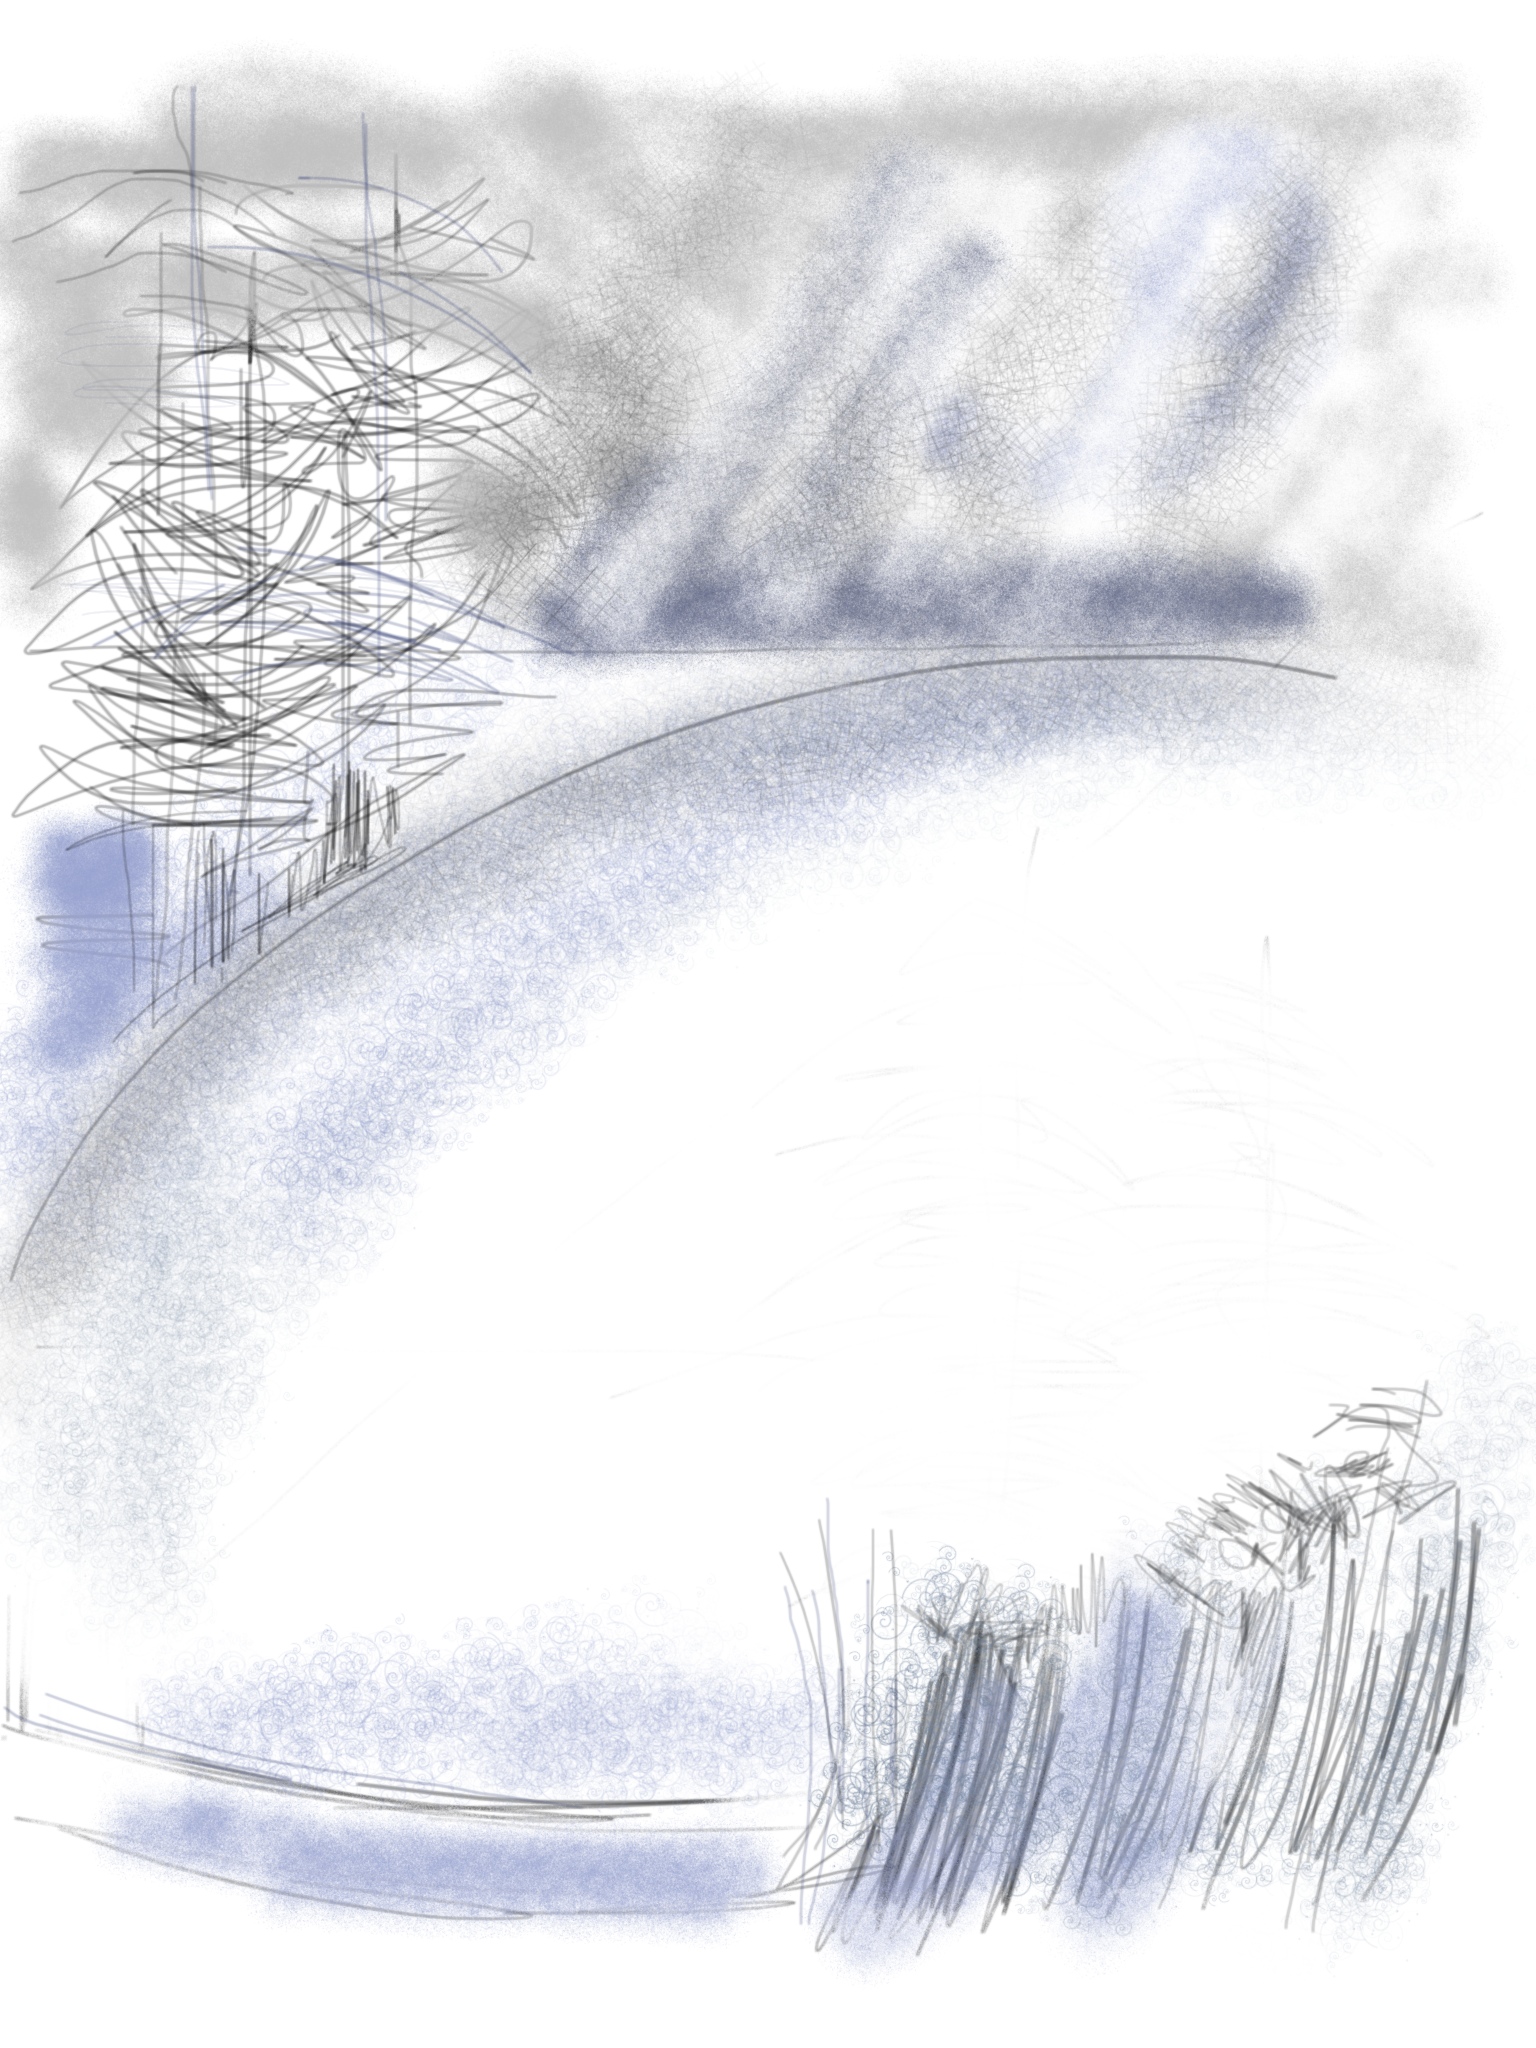
Here is Autumn

Autumn

Experimenting

I managed to insert a picture of my Rustybook, it wasn’t quite what I expected. It seems to be a link to a file rather than the image itself, however it does appear, like magic, when you click on ‘open’. I am learning all the time.
I am working a lot on my ipad using the ‘Brushes’ app. I find it best to draw and paint with my finger rather than the stylus, it is more intuitive, there is a good range of marks and colours. The app makes me work less precisely, the results are images which are lively and indicative rather than staid and over-detailed, which provides good source material for printmaking. Here’s one.

Winter

I made a drypoint etching using this image, on perspex using a soldering iron, it is a varied edition of 4. It is printed in bone black with a rolled sky in permanent violet.

Winter2

I like to be able to track my work back to a starting point, this is a good method.